Chive and White Wine Braised Chicken
Ingredients
1 whole 5-lb chicken, free-range and organic if possible; they tend to be larger
1 stick (8 Tbsp) salted butter, softened
1 cup chives, finely chopped
1 cup dry white wine
1 cup chicken stock, homemade if able is always best
1 large lemon
Kosher salt
Freshly ground black pepper
Method
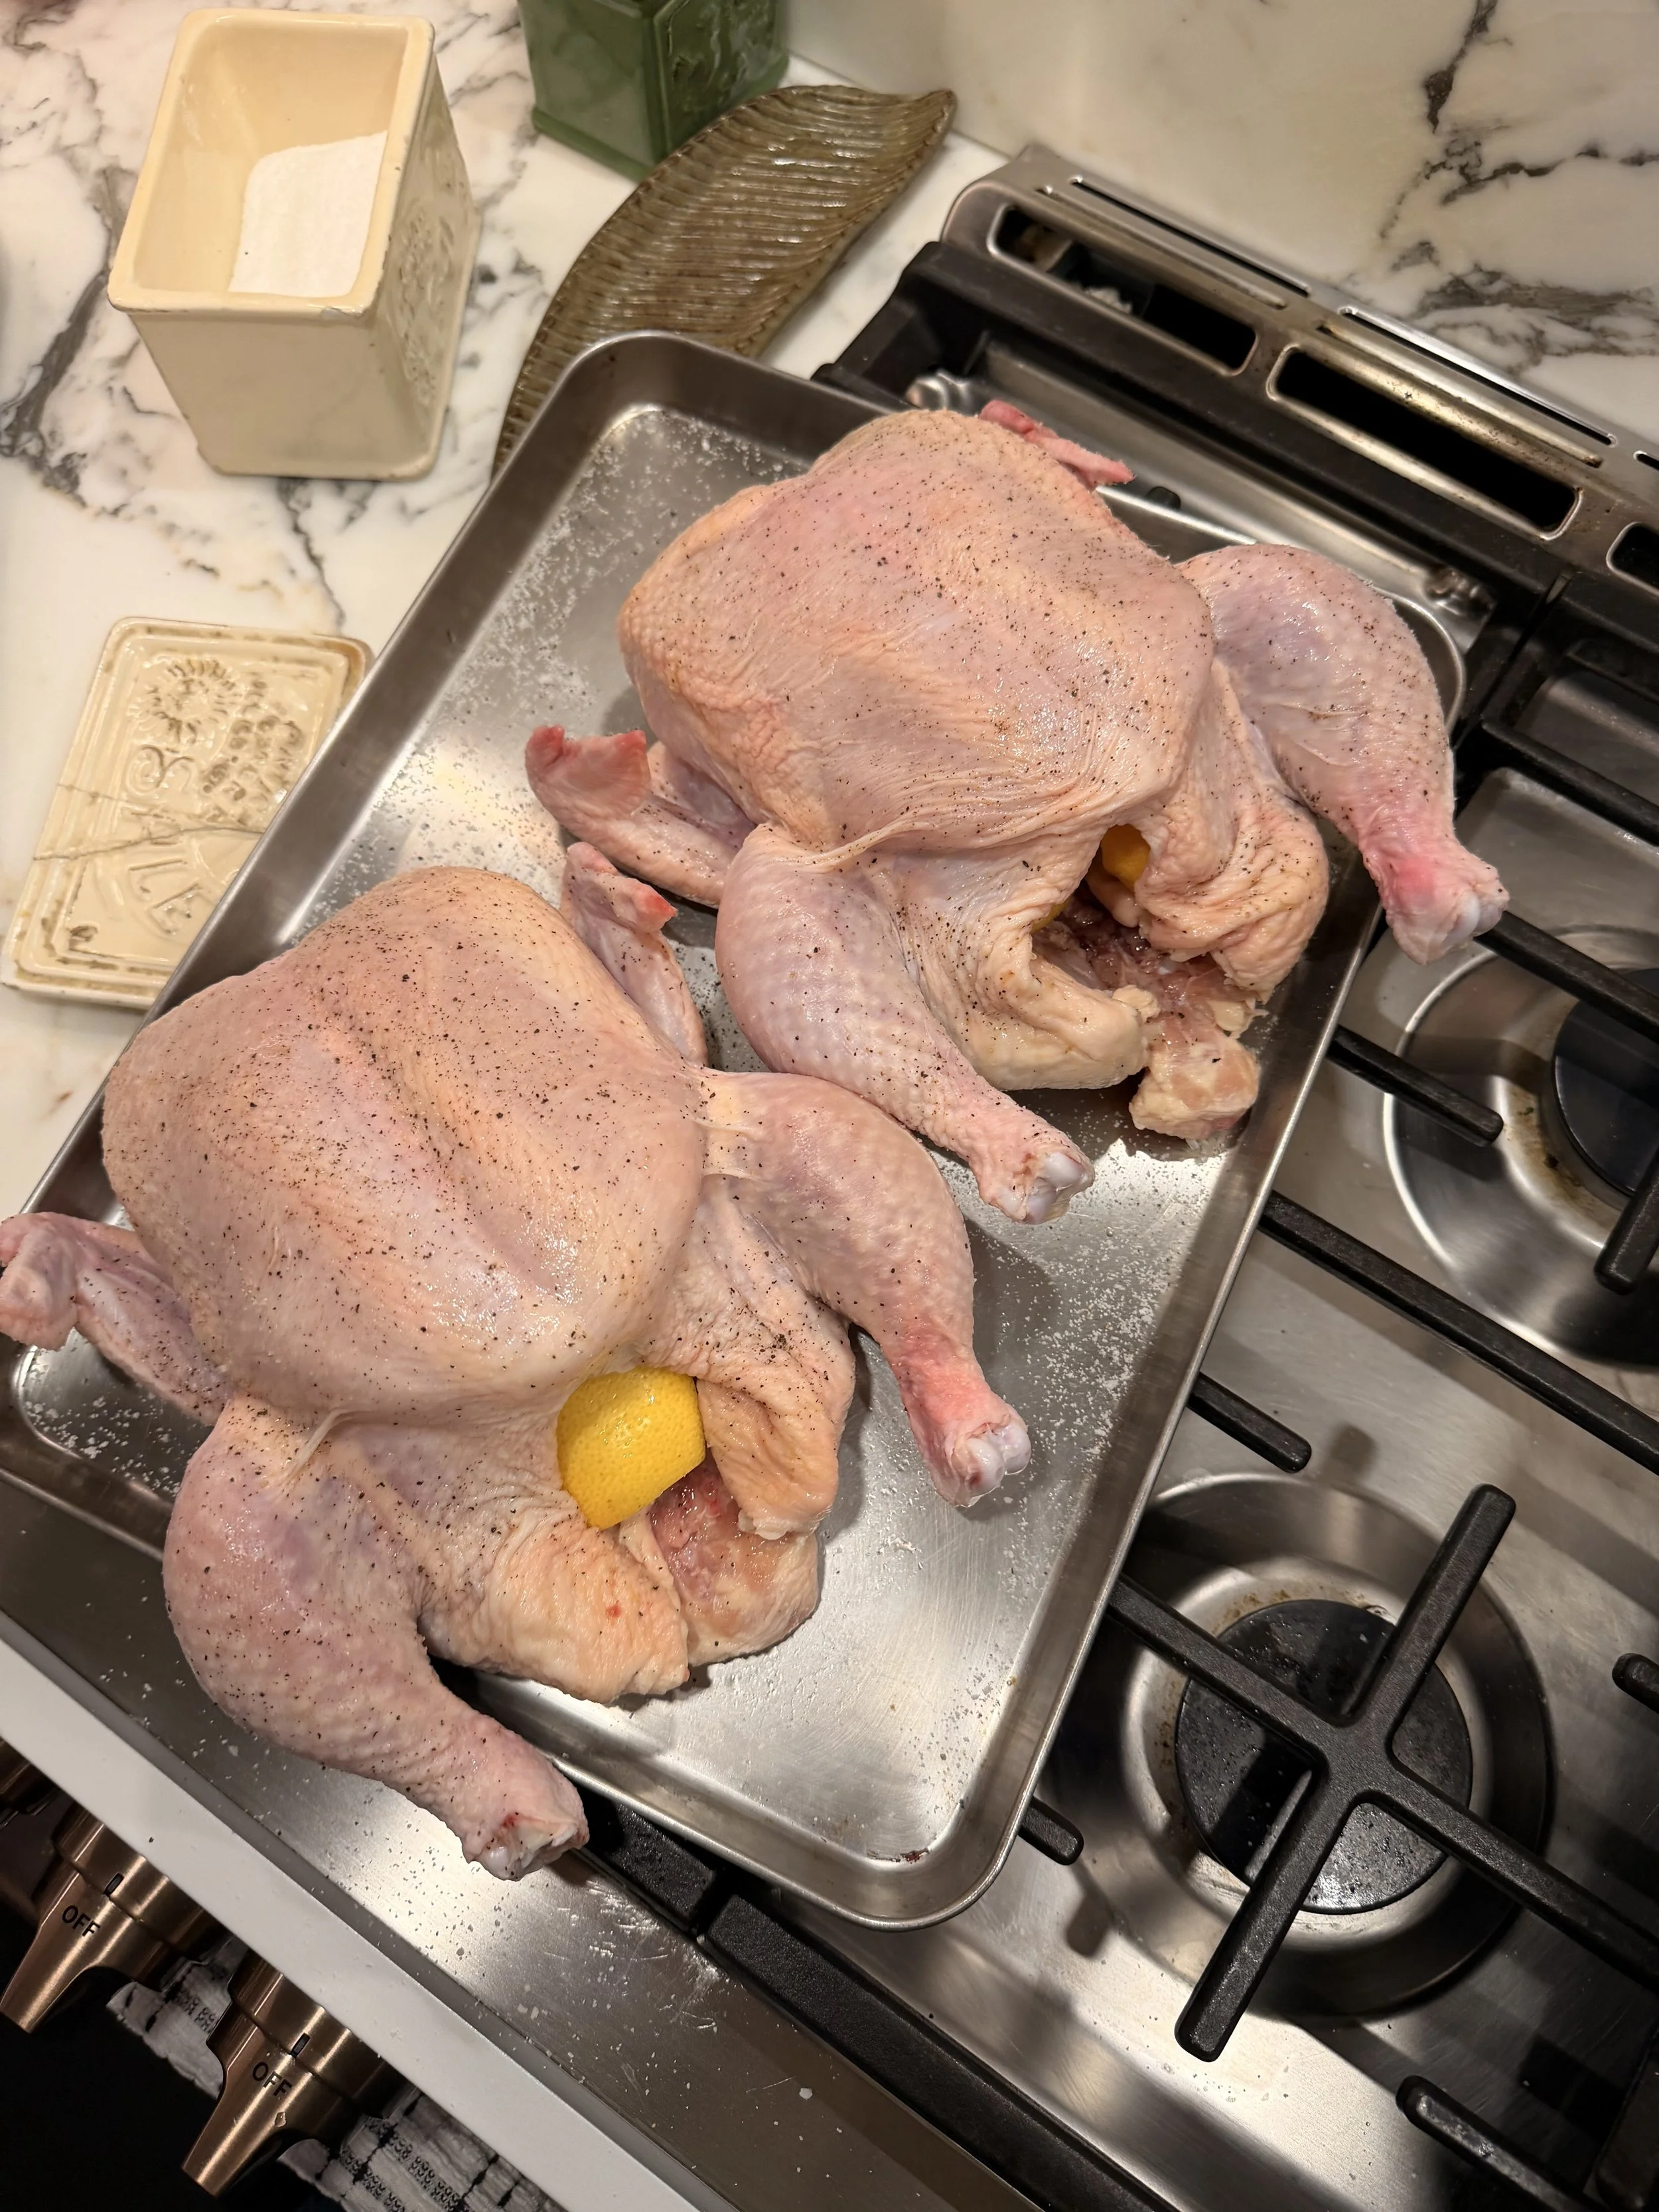
Remove the chicken from the refrigerator 30 minutes before cooking. Preheat the oven to 325°F. Remove all packaging and any contents from the cavity. Using a gentle stream of lukewarm water, rinse the cavity well. Place the chicken on a sheet pan and pat dry thoroughly.
Set a large Dutch oven over medium heat and add 4 Tbsp of the salted butter. While the pan heats, season the chicken very generously with kosher salt and freshly ground black pepper, including inside the cavity. Zest the lemon onto a small plate, then cut the lemon into quarters and stuff it into the cavity.
Once the Dutch oven is hot, place the chicken breast-side down and sear until deeply golden, about 6 minutes.
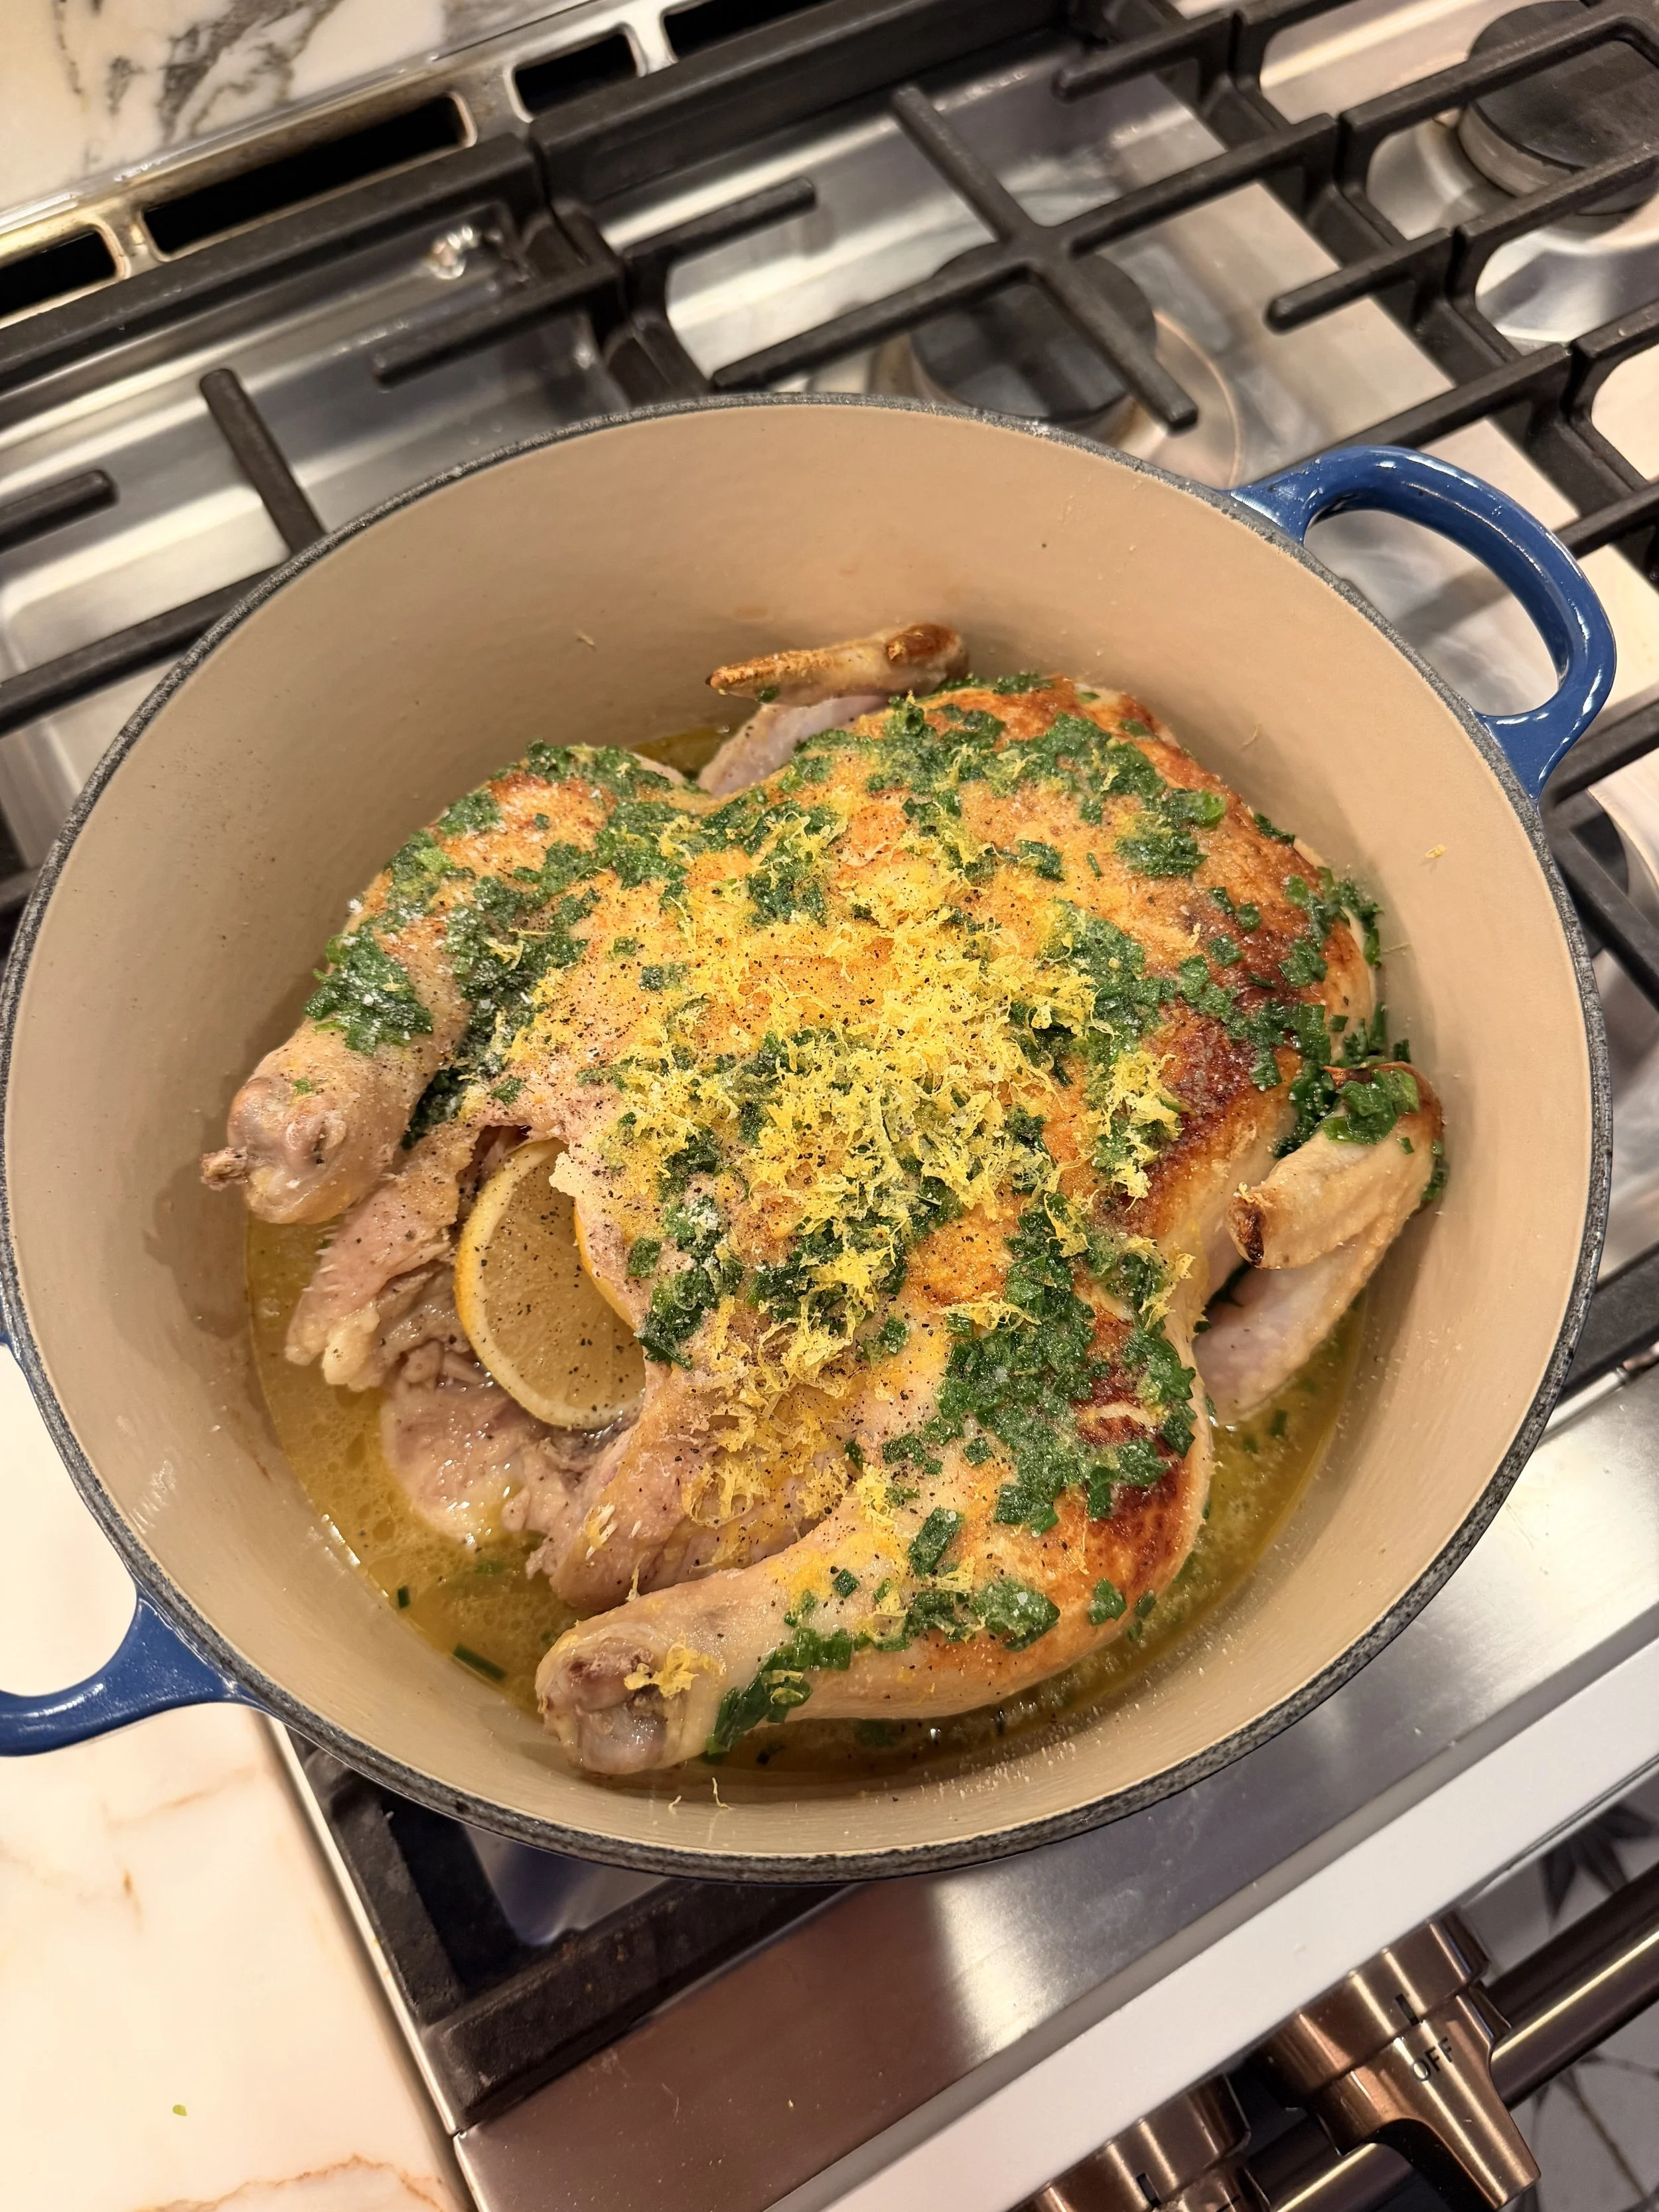
While the chicken sears, mix half of the chopped chives with the remaining 4 Tbsp butter. Flip the chicken and sear on the back for an additional 3 minutes. As it sears, rub the chive butter all over the top of the chicken and sprinkle the lemon zest evenly over the surface.
Deglaze the pot with the white wine and chicken stock, scraping up any browned bits. Add the remaining chives, cover, and transfer to the oven on a lower rack. Braise for 80–90 minutes.
At around 80 minutes, remove the lid and check the internal temperature by inserting a meat thermometer into the thickest part of the thigh. You’re looking for 155°F. If the temperature has been reached, remove the pot from the oven; if not, continue cooking and check every 8–10 minutes. See note.
Once done, remove the chicken from the pot and place it on a sheet pan. Turn the oven off and return the chicken to the oven (with the heat off) to rest for at least 15 minutes or up to 1 hour.
While the chicken rests, place the Dutch oven over high heat and bring the braising liquid to a boil. Reduce for 10–20 minutes, depending on the amount of liquid, until it lightly coats the back of a spoon. Taste and adjust with salt and pepper as needed. This is your “gravy.”
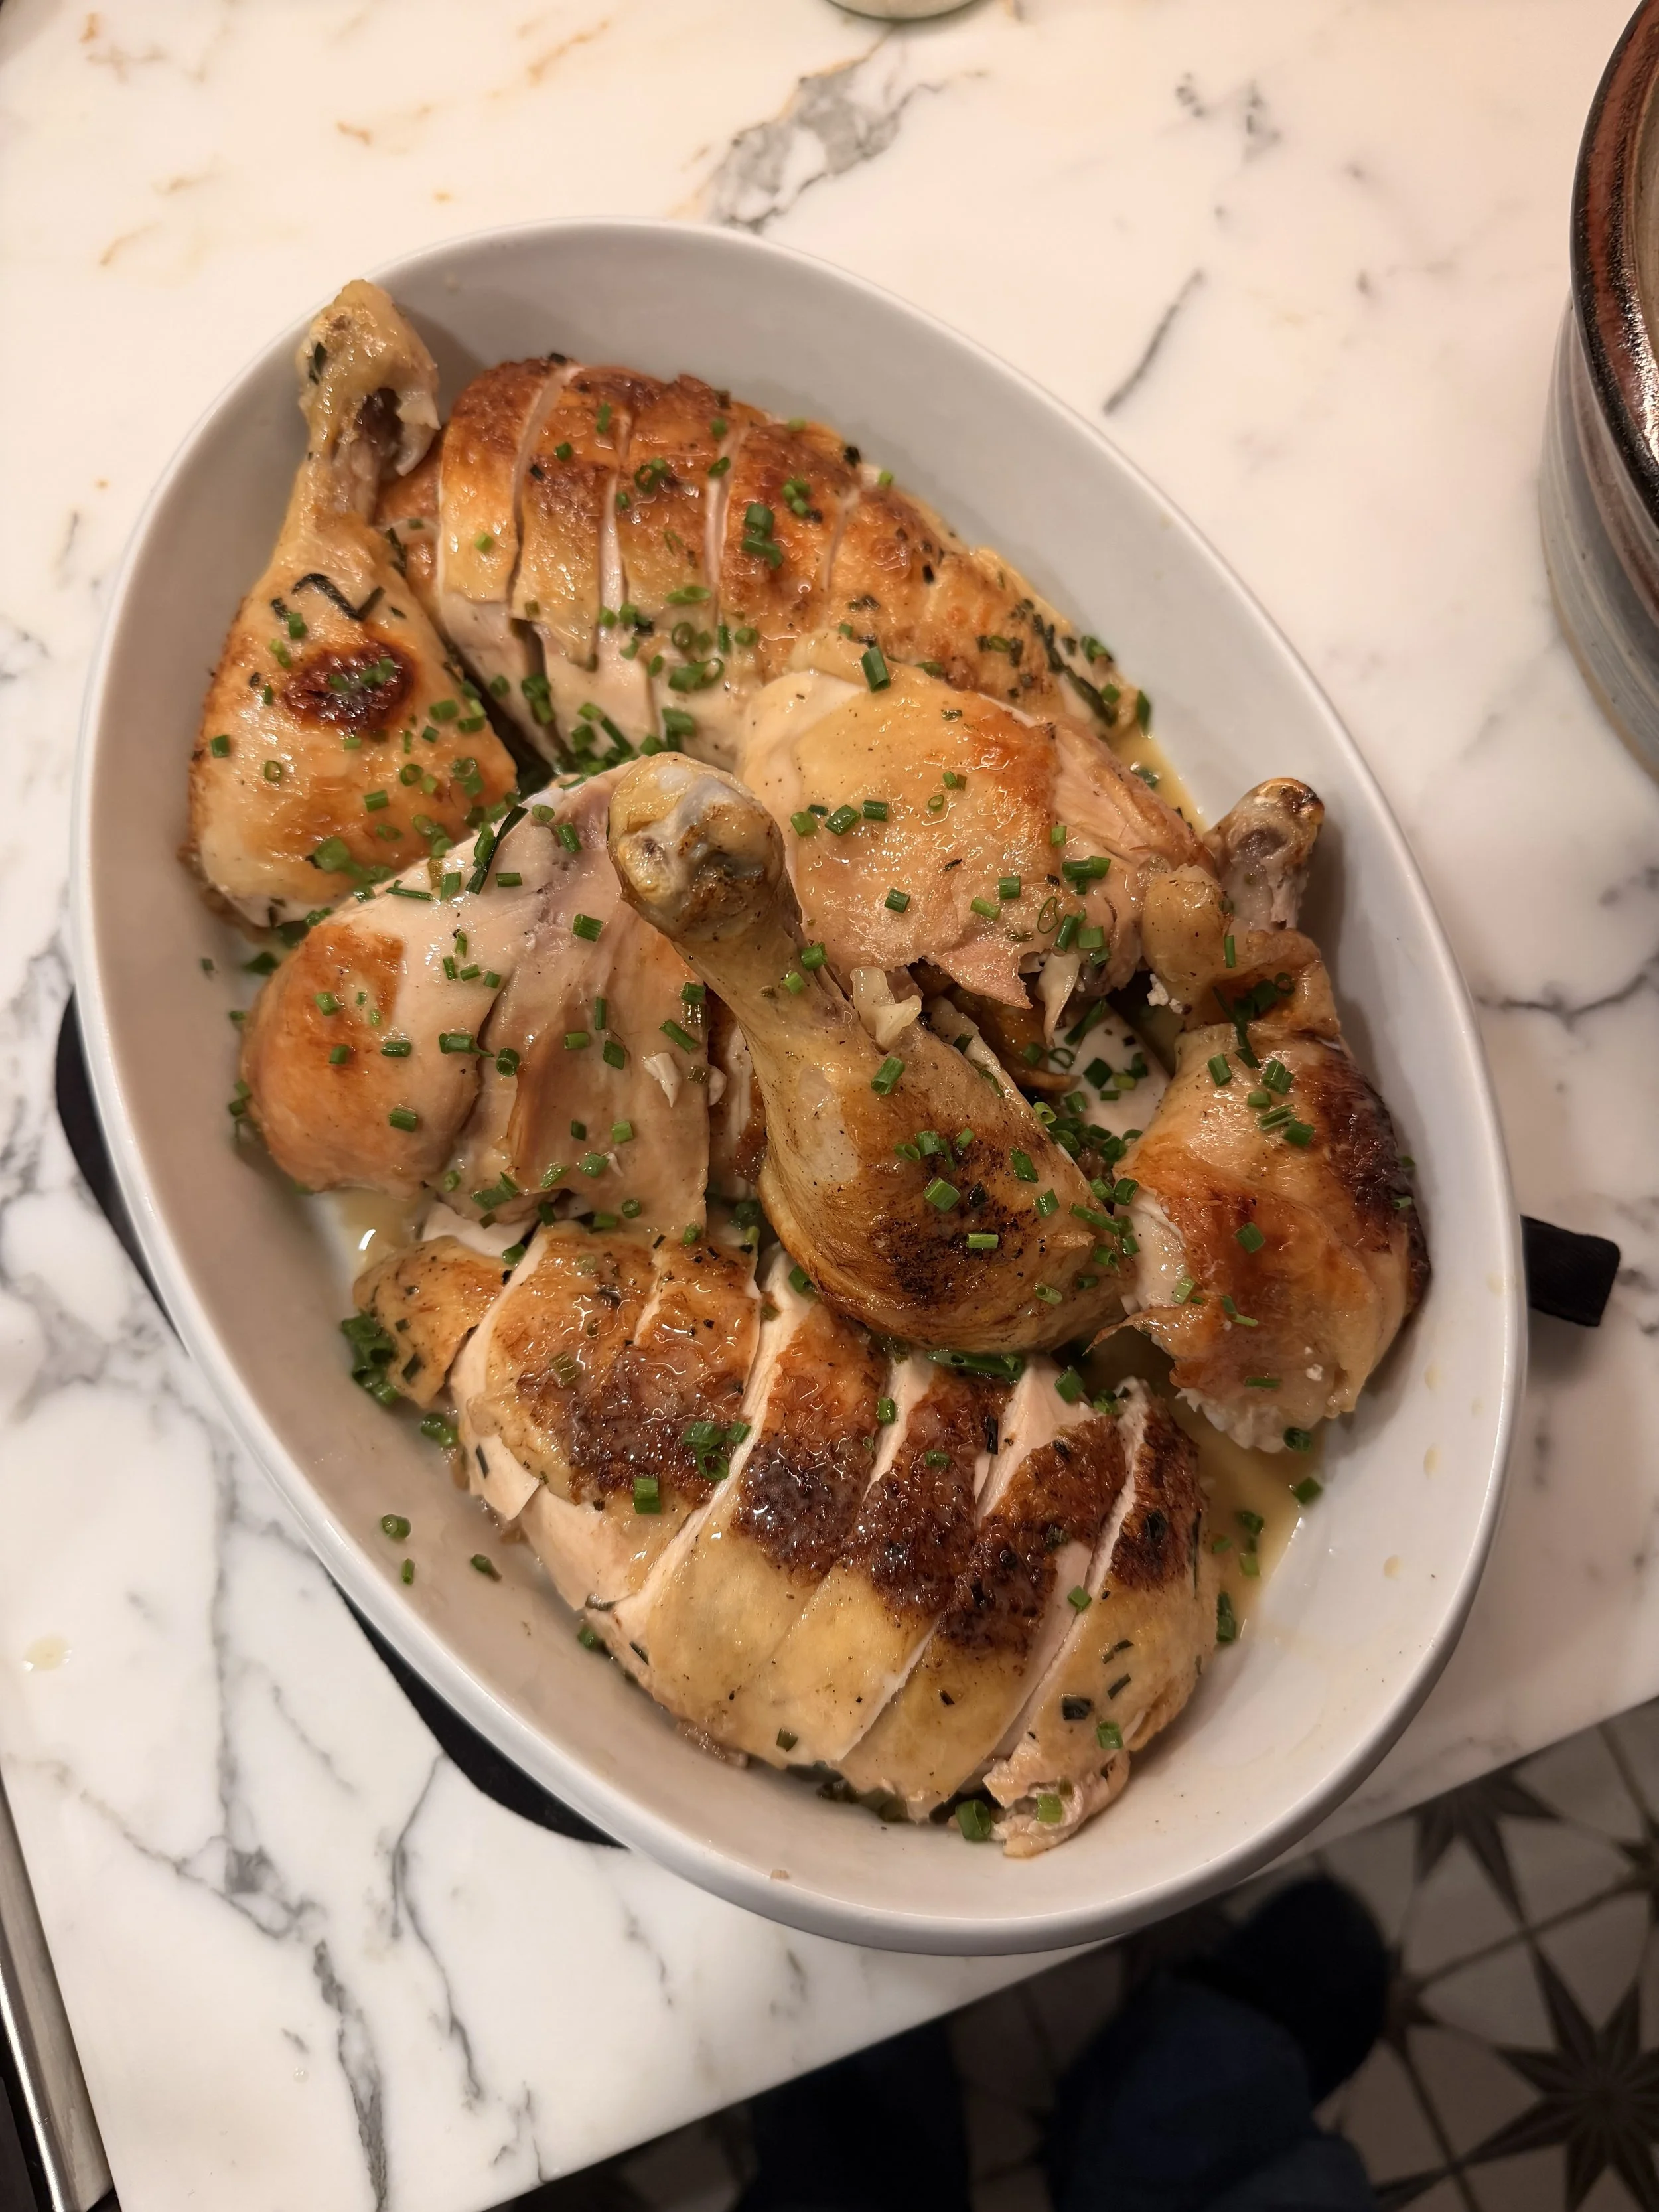
To carve, remove the breasts from the bone and slice into even pieces. Separate the thighs and drumsticks, then divide at the joint where the thigh meets the drum. See note.
Serve with rice pilaf and a delicious vegetable, and enjoy!
NotesCarryover Cooking
The chicken is removed from the oven at 155°F because it will continue to cook as it rests. This process, known as carryover cooking, allows the internal temperature to rise to a safe 165°F without overcooking the meat. Resting ensures the chicken stays juicy, tender, and evenly cooked throughout.Removing the Wishbone
Before cooking, consider removing the wishbone for easier carving. Using a small knife, locate the wishbone at the top of the breast near the neck opening. Gently cut along both sides and pull it out with your fingers. Removing it ahead of time allows the breast meat to come off the bone cleanly and makes slicing much easier after cooking.