Italian Ricotta Cookies
Ingredients
2 sticks unsalted butter, softened
1½ cups fine cane sugar
1 tbsp vanilla bean paste
½ tsp lemon extract
Zest of 1 orange
2 eggs, room temperature
15 oz whole-milk ricotta
4 cups unbleached all-purpose flour
2 tsp salt
2 tsp baking soda
1½ cups powdered sugar
2–3 tbsp whole milk
Colored sprinkles, optional
Method
In the bowl of a stand mixer fitted with the paddle attachment, add the butter. Cream on high for about 2 minutes, until the mixture is pale and smooth. Add the sugar and continue to cream for 1 more minute. Turn the speed down to low and add the eggs one at a time, followed by the vanilla bean paste, lemon extract, orange zest, and ricotta. Continue beating until the mixture is completely smooth and silky.
In a large bowl, sift together the flour, salt, and baking soda. Slowly add the flour mixture to the wet ingredients, mixing until just combined. Once the dough comes together, turn it out onto a smooth surface and bring it together into a flat rectangle. Wrap in parchment or plastic wrap and refrigerate for at least 2 hours and up to 2 days. (Option to freeze the dough for up to 2 months; transfer to the refrigerator to thaw when ready to use.)
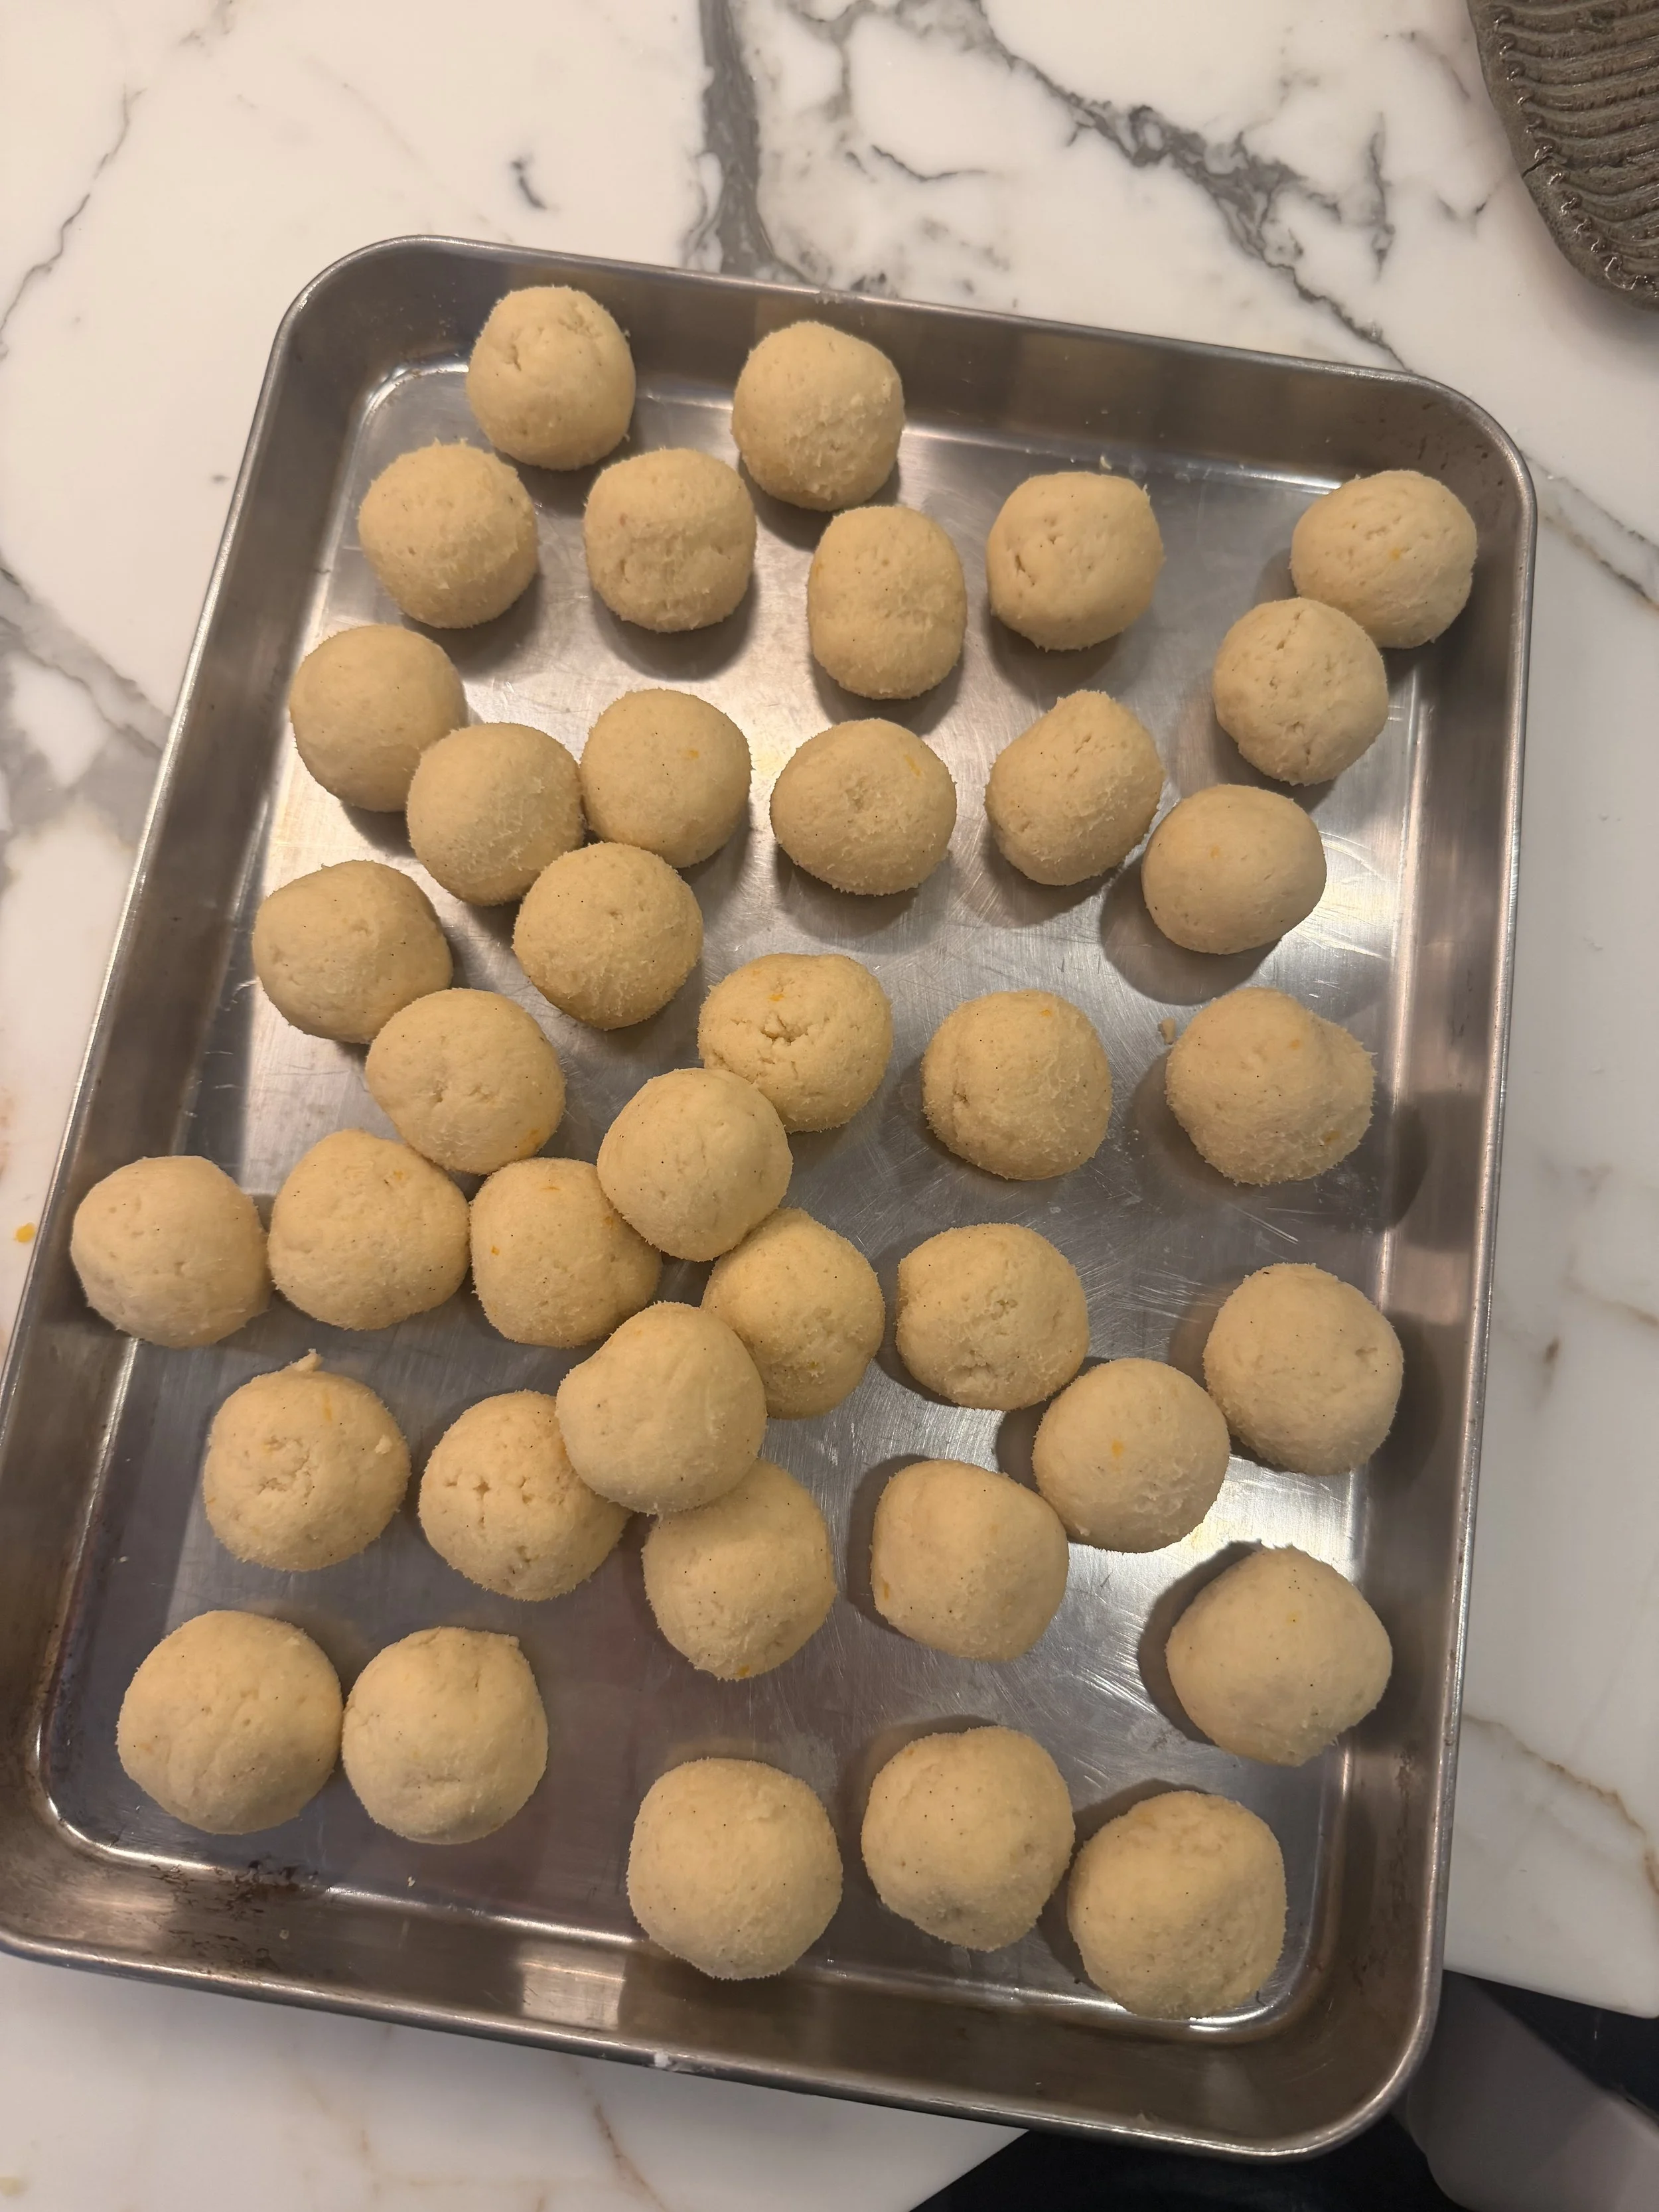
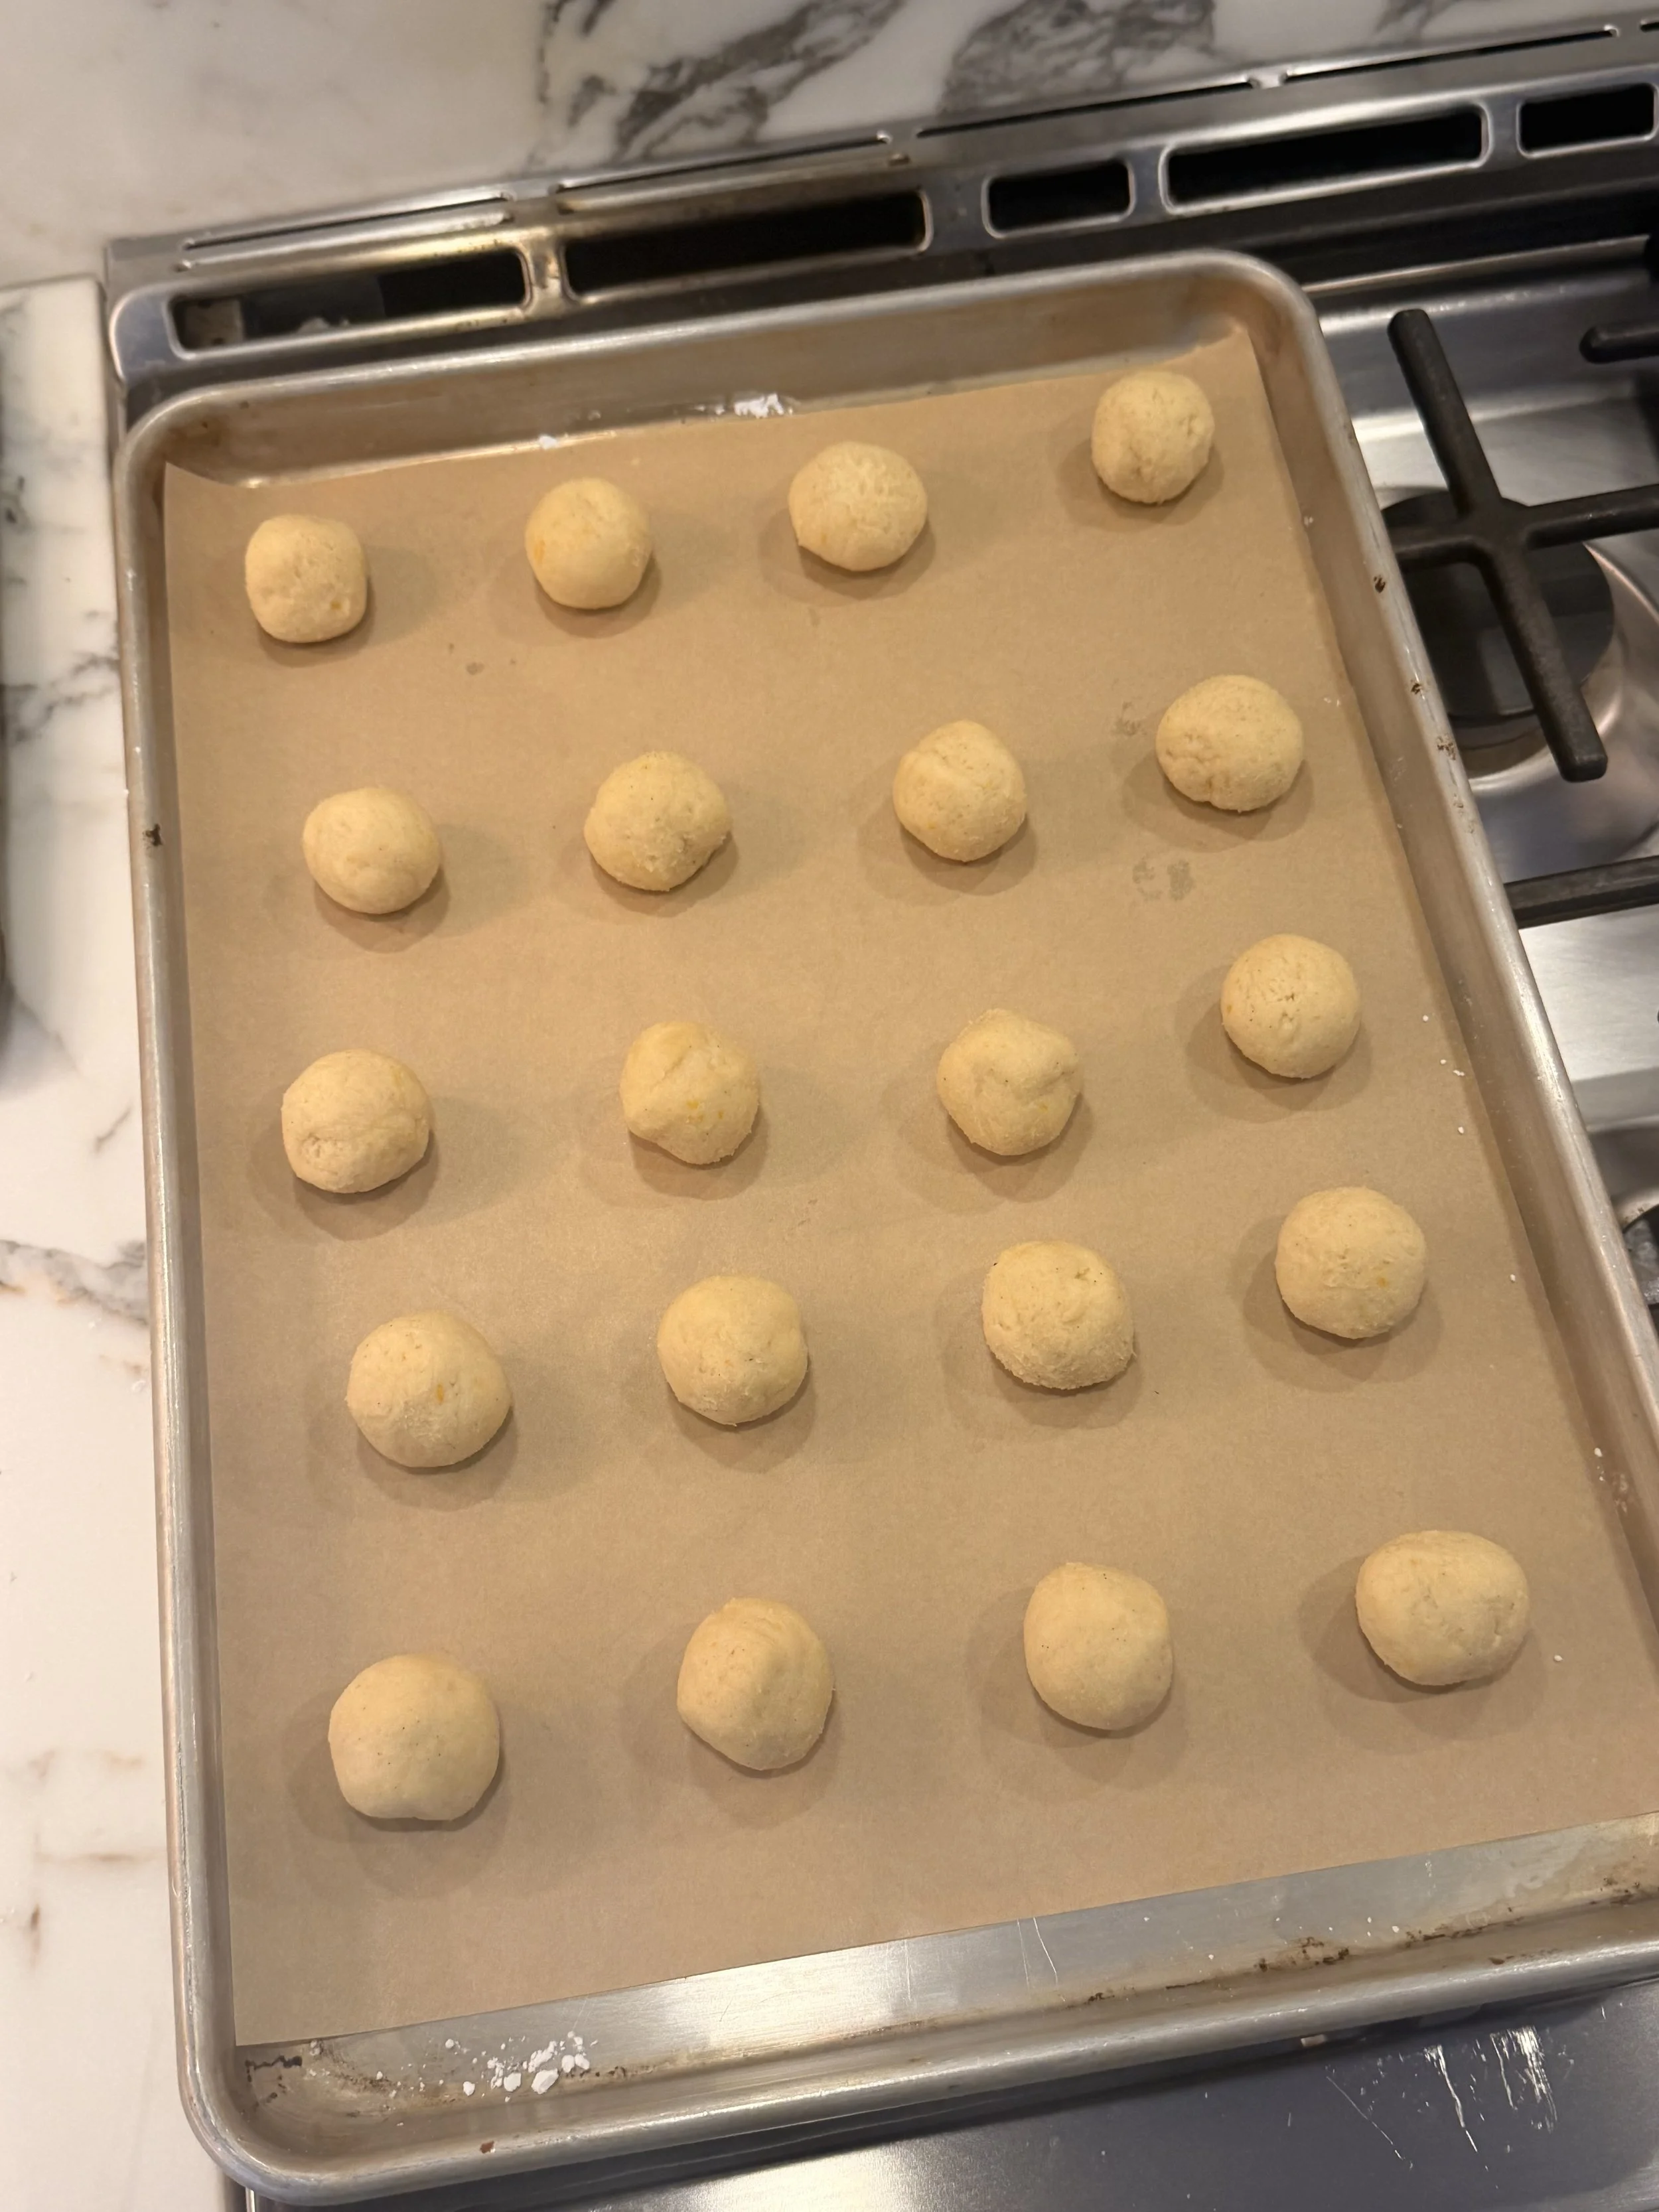
Fifteen minutes before baking, remove the dough from the refrigerator. Preheat the oven to 350°F (175°C) and line two sheet trays with parchment paper. Using a scale, roll the dough into 20 g balls. Arrange the dough balls on the prepared sheet trays, leaving a little space between each, as they will rise and spread slightly. Bake on the middle rack for 11 minutes, until the bottoms have just started to turn golden brown.
Remove the cookies from the oven and allow them to cool on a wire rack. Be careful, as the cookies are very delicate until completely cooled, and we don’t want them to deflate.
In a small bowl, whisk together the powdered sugar and milk, starting with less milk than you think you need—you can always add more. Once you reach a thick but pourable consistency, dip the tops of each cooled cookie into the icing, then place them back on the rack to allow any excess icing to drip off. While the icing is still wet, sprinkle with any festive sprinkles you like and set aside to allow the icing to set.
Serve on a cookie plate once the icing is dry, or optionally freeze the completed cookies until the day of serving, making sure to layer them with parchment paper when storing in the freezer.

NotesDough Freezing (Extended Storage)
For freezing periods longer than several days, tightly double-wrap the dough in plastic wrap, then place it in a resealable freezer bag. Vacuum sealing is recommended when available. Properly wrapped dough may be stored frozen for up to 2 months. Thaw overnight under refrigeration before portioning and baking.
Freezing Baked Cookies (Alternative Method)
Baked cookies may also be frozen after cooling completely. Arrange the cookies in a single layer inside a resealable freezer bag. Seal the bag almost entirely, insert a straw into the remaining opening, and remove excess air by suction before fully sealing. This method mimics vacuum sealing while minimizing pressure that could damage the cookies.Room Temperature Eggs
This might not seem like a big deal and may feel like an annoyance to remember, but the difference it makes in the dough is noticeable. Cold eggs are harder to incorporate into dough. Eggs that are at room temperature blend much more easily with the other ingredients, which ultimately leads to a fluffier, lighter end result. If you forget to take the eggs out ahead of time, simply fill a glass jar or large vessel with hot water and allow the eggs to sit in the warmth for at least 5 minutes before using. The eggs will crack more easily, and when added to properly creamed butter, the mixture should not break. Everything should stay smooth and well emulsified.