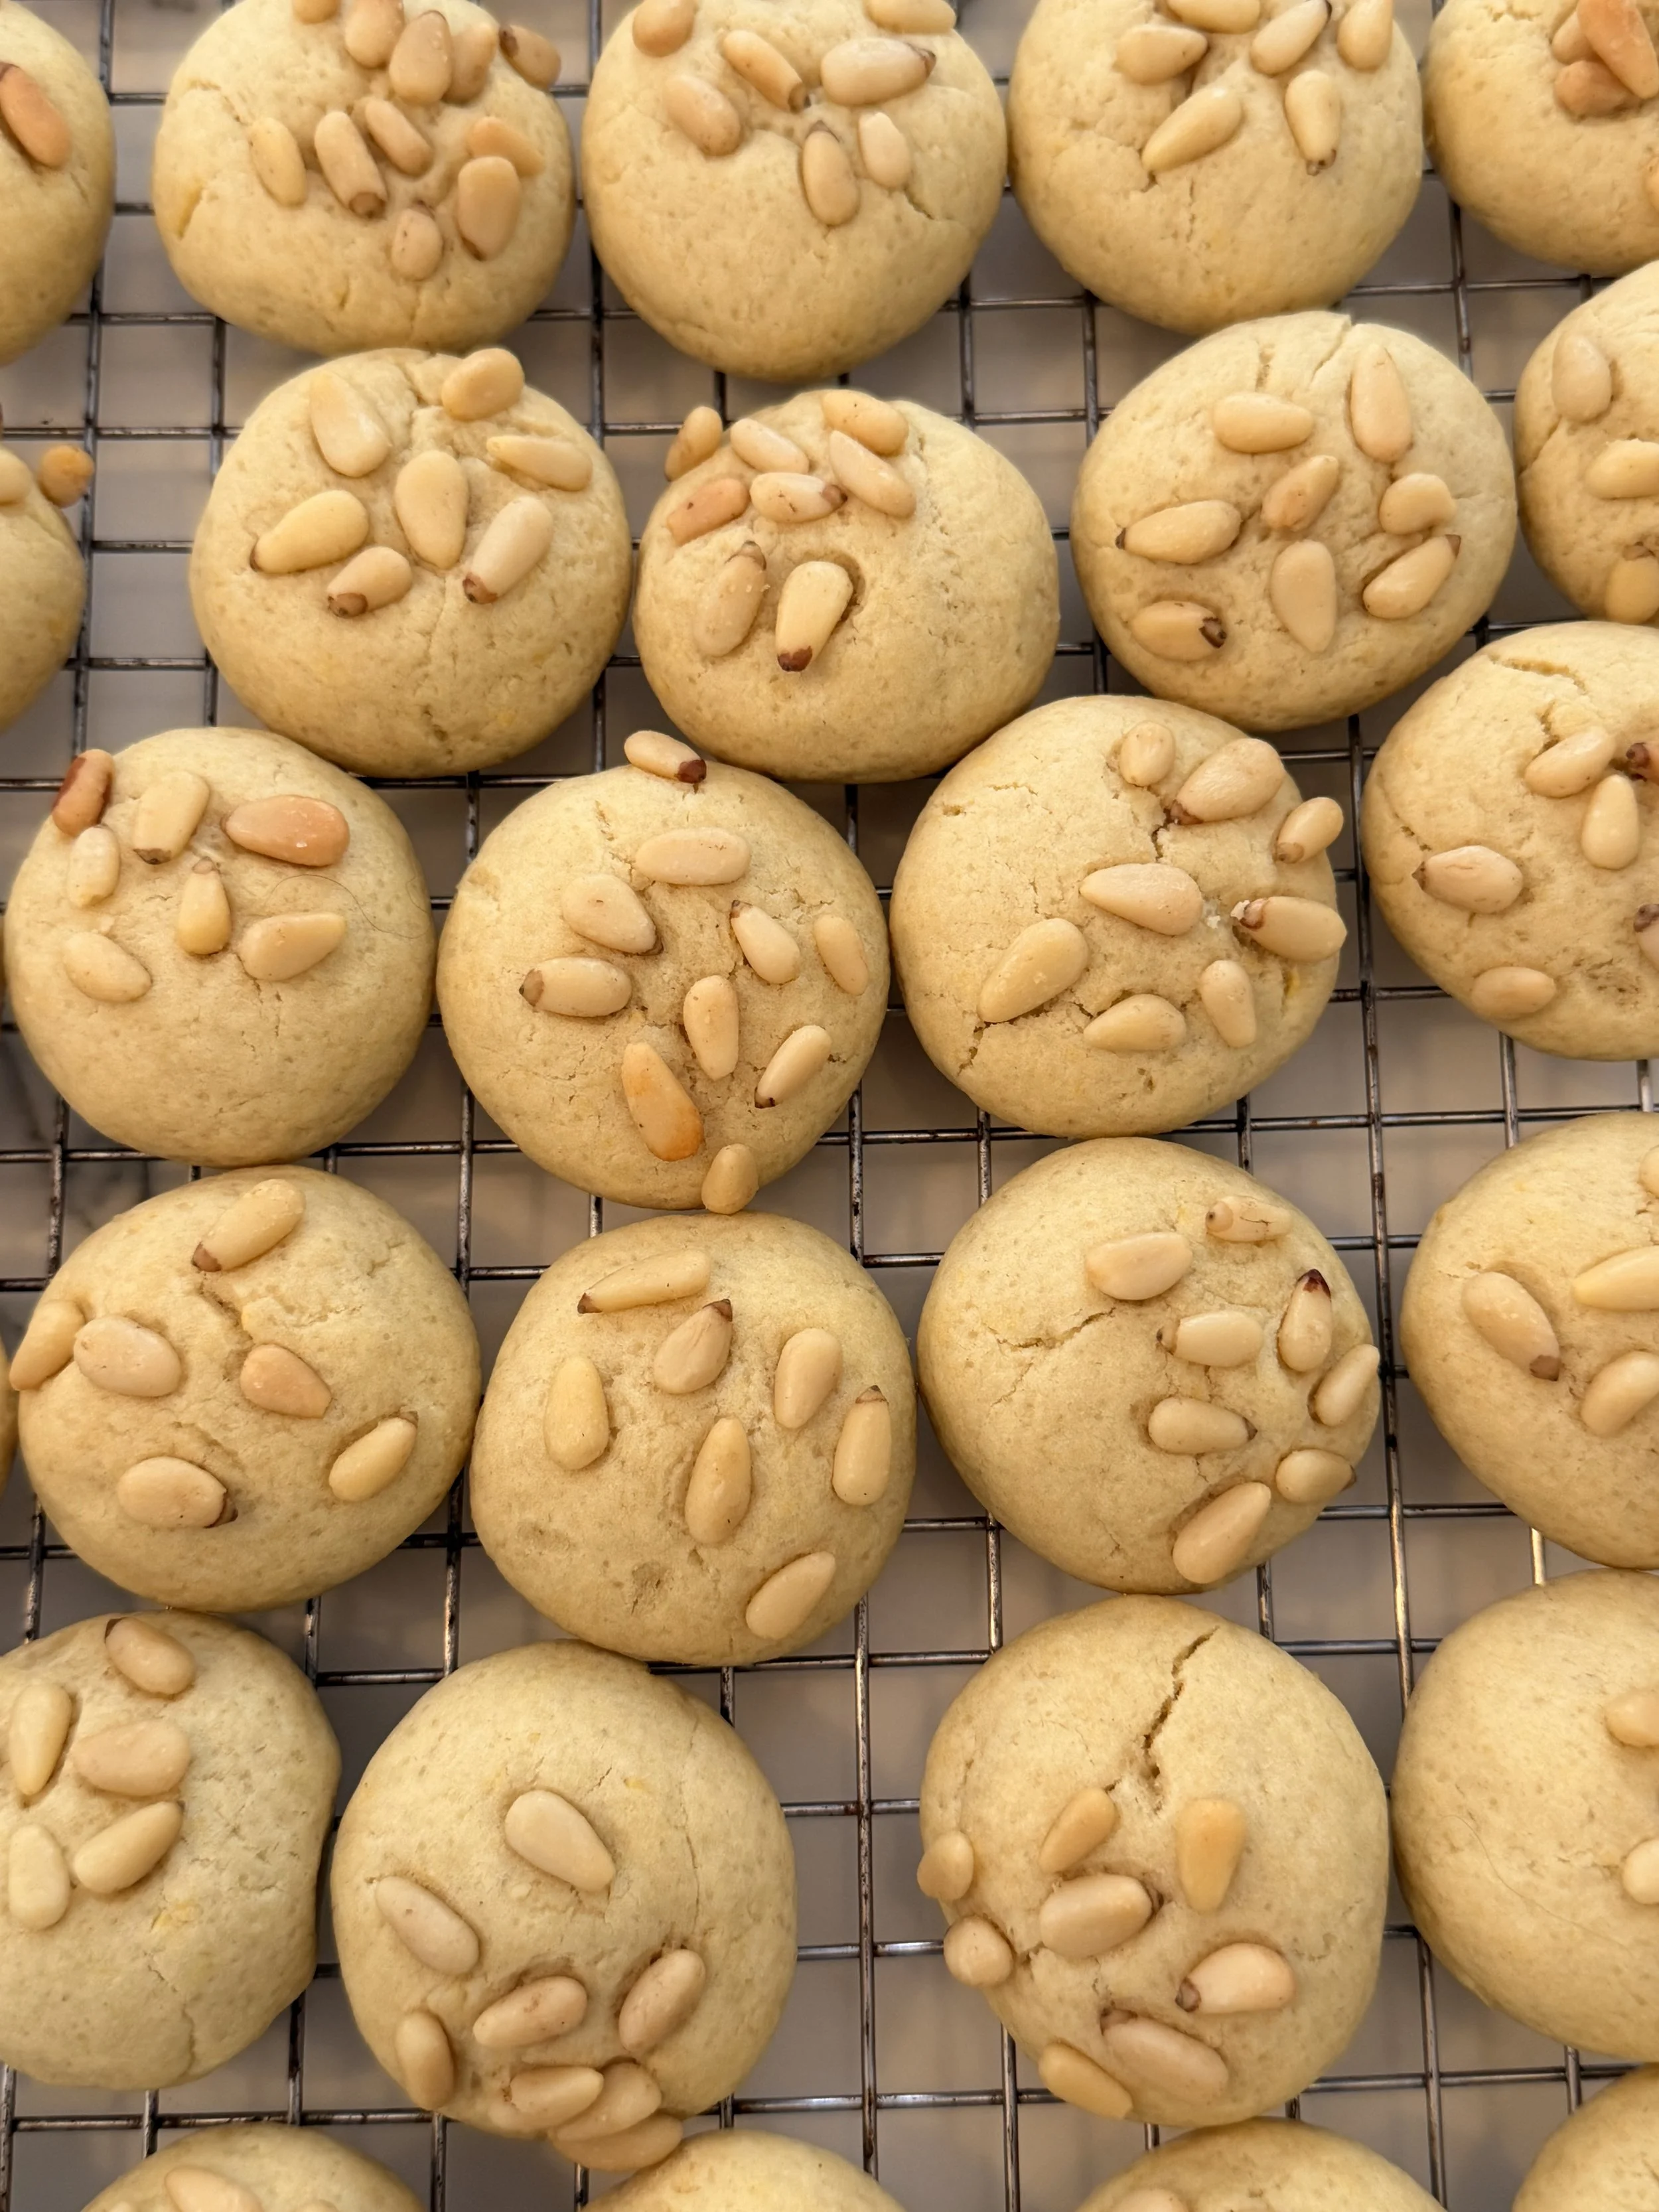
Olive Oil & Lemon Pine Nut Cookies
Ingredients
1 cup extra-virgin olive oil
1 cup fine cane sugar
Zest and juice of 1 lemon
½ tsp lemon extract
1 egg plus 1 egg yolk, room temperature
3½ cups flour
1 tsp kosher salt
1 tsp baking soda
1 cup raw pine nuts
Method
In a large glass measuring cup, combine the olive oil and sugar. Using a microwave or stovetop, heat the mixture for 2–4 minutes, until very warm. Stir well and allow the sugar to begin dissolving. It will not dissolve completely—this is fine.
Place the egg and egg yolk in the bowl of a stand mixer along with the lemon juice, lemon zest, and lemon extract. Fit the mixer with the paddle attachment and mix on low speed until smooth. Slowly pour in the warm oil and sugar mixture and continue mixing for about 1 minute, until fully combined and smooth.
In a separate bowl, sift together the flour, baking soda, and salt. Gradually add the dry ingredients to the wet ingredients, mixing just until combined.
Turn the dough out onto a smooth surface, gently bring it together into a ball, and wrap it in parchment or plastic wrap. Refrigerate for at least 2 hours. (Optional: freeze the dough and thaw overnight in the refrigerator before baking.)
Thirty minutes before baking, remove the dough from the refrigerator and allow it to sit at room temperature. Meanwhile, preheat the oven to 350°F (175°C) and line two baking sheets with parchment paper.
Using a scale (or estimating), portion the dough into 20 g pieces. Roll each piece into a smooth ball, toss in sugar, and press the tops into raw pine nuts. Place the cookie balls on the prepared baking sheets, leaving space between each. This recipe typically requires two baking rounds using two sheet trays.
Bake for 11 minutes, or until the bottoms are just lightly golden. Remove from the oven and transfer the cookies to a wire rack to cool completely.
Serve once cooled, or freeze the baked cookies and thaw as needed. Enjoy!
NotesSugar Dissolution & Texture
Warming the olive oil and allowing the sugar to partially dissolve prior to mixing significantly improves dough cohesion and the finished cookie texture. This method reduces graininess and results in a smoother, more unified crumb.Dough Freezing (Extended Storage)
For freezing periods longer than several days, tightly double-wrap the dough in plastic wrap, then place it in a resealable freezer bag. Vacuum sealing is recommended when available. Properly wrapped dough may be stored frozen for up to 2 months. Thaw overnight under refrigeration prior to portioning and baking.Freezing Baked Cookies (Alternative Method)
Baked cookies may also be frozen after cooling completely. Arrange the cookies in a single layer inside a resealable freezer bag. Seal the bag almost entirely, insert a straw into the remaining opening, and remove excess air by suction before fully sealing. This method mimics vacuum sealing while minimizing pressure that could damage the cookies.Room Temperature Eggs
This might not seem like a big deal and may feel like an annoyance to remember, but the difference it makes in the dough is noticeable. Cold eggs are harder to incorporate into dough. Eggs that are at room temperature blend much more easily with the other ingredients, which ultimately leads to a fluffier, lighter end result. If you forget to take the eggs out ahead of time, simply fill a glass jar or large vessel with hot water and allow the eggs to sit in the warmth for at least 5 minutes before using. The eggs will crack more easily, and when added to properly creamed butter, the mixture should not break. Everything should stay smooth and well emulsified.